
No-Bake Peanut Butter Granola Bars With Oats, Almonds, and Chocolate Chips
A pantry-friendly granola bar for busy mornings and quick snacks
A well-made granola bar can cover a lot of ground: breakfast on the go, a pre- or post-workout boost, a midday pick-me-up, or even something sweet after a meal. The best versions don’t just taste good—they also feel satisfying, thanks to a balance of protein, fat, and fiber. This no-bake peanut butter granola bar recipe aims for that sweet spot while leaning into a classic pairing: peanut butter and chocolate.
Because the bars are no-bake, they’re especially useful when you want something homemade without turning on the oven. The mixture comes together quickly on the stovetop, gets pressed into a pan, and then firms up in the refrigerator. The result is a rich and chewy bar with nutty oats, crunchy slivered almonds, honey for sweetness and binding, and mini chocolate chips that deliver small bursts of chocolate in every bite.
Recipe developer Miriam Hahn describes why this style of recipe is a staple in her kitchen: she prefers to avoid processed foods when possible by making more items at home, and she likes that these bars take about 10 minutes to assemble before chilling. If you’ve ever wanted a homemade snack that feels practical for everyday life, this is the kind of formula you can return to again and again.
Ingredients: seven staples that work together
This recipe uses just seven ingredients, all commonly found in many kitchens. Each one plays a clear role—structure, sweetness, flavor, or texture—so it’s worth understanding what they contribute.
Peanut butter: Natural peanut butter with oil on top is ideal. Once stirred, it becomes thinner and more pourable, which helps coat the oats and almonds evenly.
Honey: The sweetener and a key binder. Any type of honey works here.
Rolled oats: The base of the bar, providing chew and structure.
Slivered almonds: Adds crunch and nuttiness.
Mini chocolate chips: Small pieces distribute throughout the bar, giving consistent chocolate flavor without overwhelming the texture.
Vanilla extract: Simple flavoring that rounds out the sweetness.
Salt: A small amount sharpens the peanut butter and chocolate notes and keeps the bar from tasting flat.
Equipment and setup: pan or silicone mold
You can make these bars in a standard 8 x 8-inch pan lined with parchment paper, or you can use a silicone mold. Both options work, but they offer slightly different advantages.
Parchment-lined pan: Straightforward and widely available. The parchment helps you lift the set slab out for cleaner slicing.
Silicone mold: If you plan to make granola bars often, a silicone mold can be especially convenient. It shapes the bars neatly, and because it’s flexible, releasing the bars is easier.
Whichever you choose, the key is preparing the container before the mixture is ready. Once the peanut butter and honey are warmed and smooth, you’ll want to move efficiently so the mixture stays easy to press.
Step-by-step: how to make no-bake peanut butter granola bars
The method is simple and quick. The most important parts are warming the peanut butter and honey gently, mixing thoroughly, pressing firmly, and chilling long enough to set.
1) Prepare the pan: Line an 8 x 8-inch pan with parchment paper, or set out a silicone mold.
2) Warm the binder: Add the peanut butter and honey to a small pot. Cook on low heat for 3–5 minutes, stirring, until smooth.
3) Season and flavor: Remove the pot from the heat. Stir in the vanilla extract and salt.
4) Combine the dry ingredients: In a large bowl, mix the rolled oats and slivered almonds.
5) Mix everything together: Pour the warm peanut butter mixture into the bowl and stir until the oats and almonds are evenly coated and combined.
6) Press into shape: Transfer the mixture to the prepared pan or mold. Pack it tightly and evenly.
7) Chill to set: Cover the pan with plastic wrap and refrigerate for 2 hours.
8) Slice and serve: Once firm, slice into bars (or unmold) and serve.
From there, the bars are ready to eat as-is, tucked into a bag for an on-the-go breakfast, or saved for later as a quick snack.
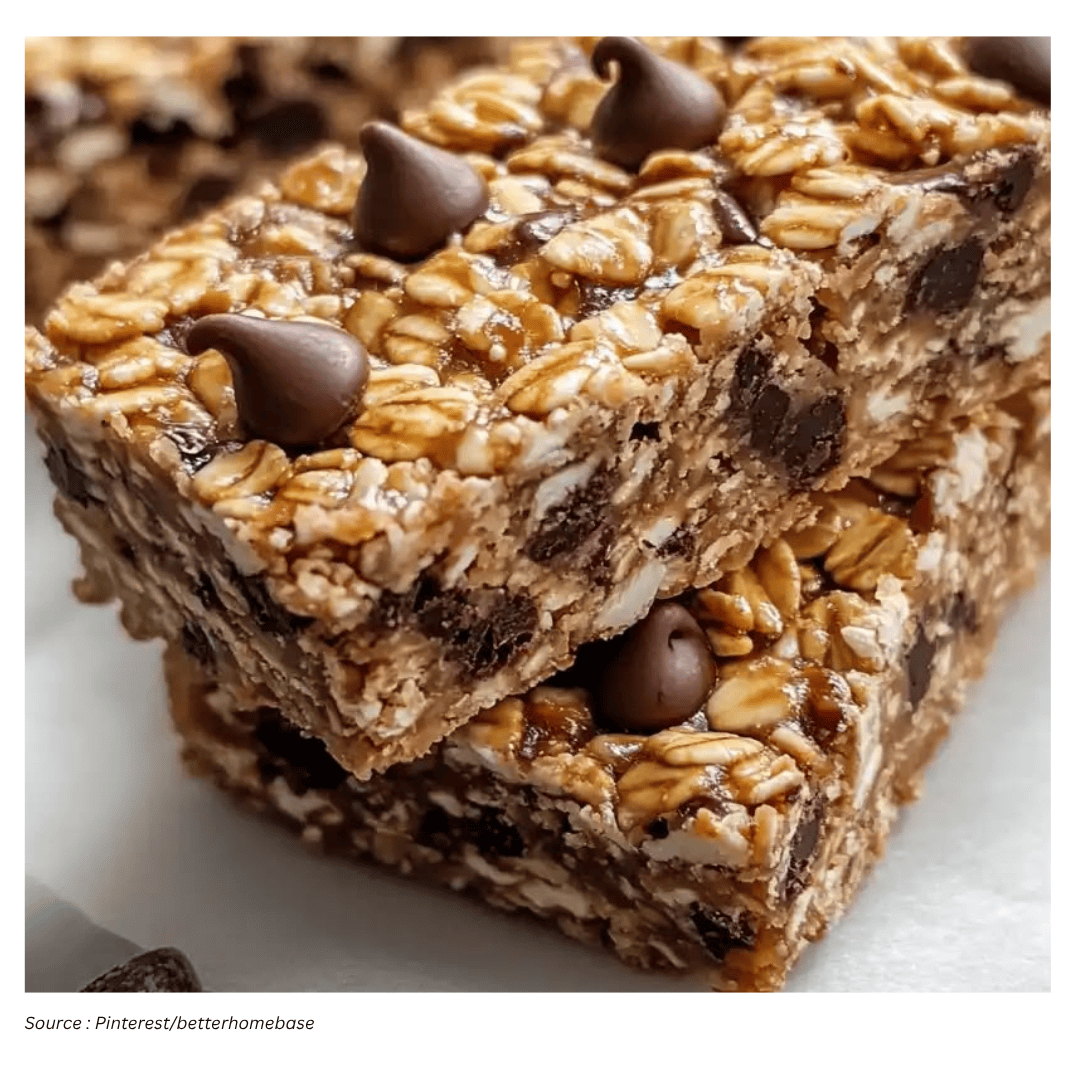
Texture and flavor: what to expect
These bars are designed to be rich and chewy rather than crisp. Rolled oats provide a hearty bite, while slivered almonds add crunch. Honey brings sweetness and helps bind everything together, and mini chocolate chips create small, frequent pockets of chocolate flavor. The overall profile is familiar and comforting: nutty, lightly sweet, and balanced by a pinch of salt and a touch of vanilla.
Because the bars set in the refrigerator rather than baking, the final texture depends heavily on how well the mixture is pressed and how long it chills. If you’re aiming for clean edges and a bar that holds together well, those two steps matter as much as the ingredient list.
Ingredient substitutions and swaps (without losing the concept)
This recipe is flexible, and it’s realistic that you might not have every item on hand. Several substitutions can still produce a cohesive bar, as long as you keep the basic structure: a sticky binder plus a dry base that can be coated and pressed.
Swap the nut butter: Almond butter, cashew butter, or sunflower butter can replace peanut butter.
Swap the sweetener: Maple syrup or agave nectar can replace honey. These are also vegan options. Because they are not quite as sticky as honey, it becomes even more important to pack the mixture very tightly so the bars hold together.
Swap the oats carefully: Rolled oats are the best choice. Quick-cooking oats can work, but the bars will be noticeably softer. Steel-cut oats should be avoided because they’re too dense and won’t soften adequately.
Swap the nuts or go nut-free: Chopped walnuts, pecans, or cashews can replace slivered almonds. Seeds can also work—especially paired with sunflower seed butter for a nut-free direction. Pumpkin seeds and sunflower seeds are particularly good options.
Swap the chocolate: If you only have regular-sized chocolate chips, roughly chop them before using so they distribute more evenly. If you want to skip chocolate entirely, dried cranberries or raisins can be added instead.
These adjustments keep the recipe practical while still delivering the same general promise: a homemade bar that’s quick to assemble, satisfying to eat, and easy to store.
Tips for bars that slice cleanly and hold together
Even though the process is easy, a few small technique choices can make the difference between sturdy bars and crumbly ones.
Use low heat and don’t boil: If your peanut butter is thick and solid, give it a few extra minutes on the stove to loosen. It’s better to stay on low heat for longer than to rush and risk boiling.
Press firmly—really firmly: Packing the mixture tightly is essential. Use your hands to press, or use the bottom of a cup or a wooden mallet. Make sure the mixture is pressed into the corners and along the sides so the slab is even.
Don’t shorten the chill: Plan for a full 2 hours in the refrigerator so the bars fully set before slicing or unmolding.
Slice with a sharp knife (especially with glass): If you’re using a glass baking dish, a very sharp knife helps. Wiping the knife clean after each cut can also help keep edges neat.
These steps aren’t complicated, but they’re the difference between a bar that feels like a cohesive snack and one that falls apart mid-bite.
Storage: keeping them fresh
Once set and sliced, store the granola bars in the refrigerator to maintain their texture and freshness. They will keep for up to 10 days when refrigerated. This makes them a good option for prepping ahead so you have a ready-to-grab snack throughout the week.
Why this no-bake method fits into everyday cooking
No-bake recipes work best when they solve a real problem: you want something homemade, but you don’t want extra steps, extra heat, or extra cleanup. These peanut butter granola bars do exactly that. The ingredient list is short and familiar, the cooking time is minimal, and the refrigerator does the rest.
They’re also adaptable. Whether you stick to the original combination of oats, slivered almonds, honey, and mini chocolate chips, or adjust based on what’s in your pantry, the core technique remains the same. Warm the binder gently, stir in the dry ingredients, press firmly, and chill long enough for the bars to set.
In a snack category that often leans heavily on packaged options, a scratch-made bar like this offers a straightforward alternative—one that’s rich, chewy, and built around the classic peanut butter-and-chocolate pairing.