
A Fool-Proof No-Knead Pizza Dough That Gets Better in the Fridge
Homemade pizza that doesn’t feel like a project
Homemade pizza can be hit-or-miss—especially if you’re trying to match the texture and flavor of a good takeout pie. The good news is that a reliable crust is within reach without turning pizza night into an all-day commitment. This no-knead-style dough uses minimal handling and leans on time, not effort: a long, cold rest in the refrigerator (at least 24 hours and up to four days) does much of the work for you.
The appeal here is simple. Instead of intensive kneading, you’ll mix the dough, do a few gentle stretch-and-folds, then let the fridge take over. That extended rest gives the dough time to mature, hydrate, and develop a gluten structure that bakes up with an ideal balance of crispness and chew. It’s a method designed to be flexible, too—once the dough is resting in the fridge, you can bake when it suits your schedule.
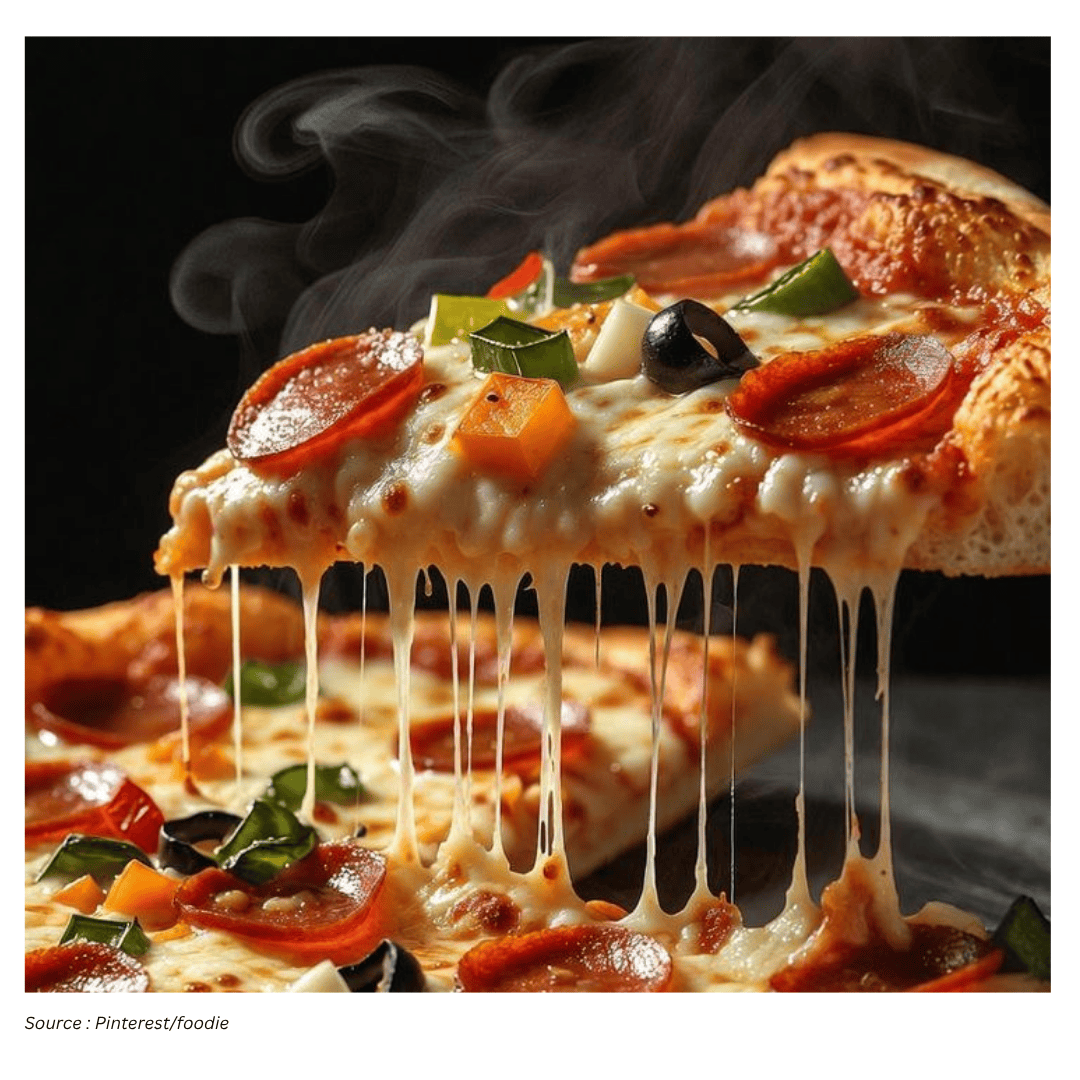
For anyone who wants homemade pizza more often (and with less stress), this approach makes it easier to plan. Mix the dough ahead, keep it chilled for the bulk of the week, and pull it out when you need a quick dinner option. Once you have the base down, toppings are entirely up to you—classic pepperoni, seasonal vegetables, or whatever combination you’re craving.
Why this dough works: time, gentle handling, and high heat
No-knead doughs are built around a straightforward idea: gluten can develop through hydration and time, not just through mechanical kneading. In this method, the dough is mixed until no dry flour remains, then strengthened with a few stretch-and-folds. After that, it’s the long rest that transforms it.
An overnight rise isn’t only about convenience—it’s a flavor strategy. As the dough ferments slowly, the yeast produces compounds that contribute to flavor and improve extensibility (how easily the dough stretches). The result is dough that’s easier to shape into a thin center while keeping a defined rim, and a crust that can blister and brown well in a hot oven.
Heat is the other major piece. For the best results, the oven should be preheated to its highest temperature—typically 500°F to 550°F—so the crust sets quickly and browns deeply. If you have a pizza stone, it’s a good time to use it: preheating the stone in the oven can help crisp the bottom crust.
Ingredients: a short list with a few smart choices
This dough is built from a handful of familiar ingredients, many of which you may already have. Each one plays a specific role, and small details—like flour type or yeast freshness—can affect the final texture.
Warm water: Used to hydrate the yeast and bring the dough together.
Active dry yeast: A dependable option for long resting periods. If you need a substitute, instant yeast can be used.
Honey: Gives yeast something to feed on, adds mild sweetness, helps balance flavor, and encourages deeper browning in the oven. (A hint of honey or sugar can work for rounding out the flavor.)
Bread flour: Higher protein than all-purpose flour, which helps the dough develop strength for a crisp edge and chewy bite. All-purpose flour can substitute, but the crust may be softer and less structured. (A high-protein flour is a strong starting point, and 00 flour is an option if you want to take it in that direction.)
Kosher salt: Essential for a well-rounded flavor.
Olive oil: Adds a subtle flavor, tenderizes the dough, and improves overall texture and crispness.
Once you’re ready to build pizzas, you’ll also want your preferred sauce, cheeses, and toppings on hand. The dough is designed to be a blank canvas, so it works equally well for a simple pie or a fully loaded one.
Method overview: mix, fold, chill, bake
This is a mostly hands-off dough, but it still benefits from a few structured steps. The process is intentionally simple: activate the yeast, combine ingredients, perform brief stretch-and-folds to build strength, then divide and refrigerate. When it’s time to bake, you’ll shape gently, top quickly, and bake hot and fast.
Below is the step-by-step approach, including shaping and baking guidance so you can go from dough to finished pizza in one flow.
Step-by-step: making the dough
1) Activate the yeast. In a liquid measuring cup or small bowl, stir to combine warm water, honey, and yeast. Cover and set aside for 5 to 10 minutes, or until foamy. That foam is a practical sign the yeast is active.
2) Combine dry ingredients. In a medium bowl, stir together the flour and kosher salt.
3) Mix the dough. Add the yeast mixture and olive oil to the flour mixture. Stir lightly until no dry ingredients remain visible. The goal is to hydrate everything evenly, not to knead.
4) Strengthen with stretch-and-folds. Use your fingertips to stretch one corner of the dough upward, then fold it onto itself. Repeat three times, making your way around the dough.
5) Repeat fold and rest. Repeat the folding process and resting process: fold each corner of the dough onto itself, then rest for 15 minutes. This gentle handling helps organize the dough without traditional kneading.
6) Divide and refrigerate. Lightly oil two rimmed plates or bowls with olive oil. Divide the dough into two pieces and form each half into a ball. Place one ball on each plate and cover with plastic wrap. Refrigerate for at least 24 hours, or up to 4 days.
Shaping and topping: keep the bubbles intact
After the dough has rested, it will be more extensible and easier to shape. At this stage, careful handling matters. One of the advantages of a long, cold rest is that it encourages a structure that can trap air—those bubbles help create a light, blistered crust. Overworking the dough during shaping can pop them, which can lead to a denser result.
Flour is useful here, but restraint is important. Adding too much extra flour can make the dough tighten and shrink back. A lightly floured surface is enough to prevent sticking while still allowing the dough to stretch.
Step-by-step: shaping and baking
1) Preheat the oven thoroughly. When ready to use the dough, preheat the oven to its highest temperature (typically 500°F to 550°F) before shaping the pizzas. High heat is a key ingredient in the final texture.
2) Prepare your surface. Lightly dust your work surface with flour.
3) Start shaping with a defined rim. Place one round of chilled dough onto the floured surface. Press a border lightly all around the edge (about 1 inch in) to form a crust.
4) Stretch the center. Use your hands to stretch the center of the dough, leaving the crust intact, until you reach a 12- to 14-inch round.
5) Prep the baking surface. Lightly dust a baking sheet with flour (or cornmeal). Immediately transfer the dough to the baking sheet.
6) Top and finish. Top with sauce, cheese, and your favorite toppings. Drizzle with olive oil.
7) Bake hot and fast. Bake for 6 to 8 minutes, or until deeply browned and bubbling.
8) Repeat and serve. Repeat with the remaining dough and serve immediately.
Planning your week: the advantage of a 24-hour to 4-day cold rest
This dough’s long refrigeration window is more than a technical detail—it’s what makes the recipe so practical. Because the dough can rest for up to four days, you can mix it when you have a little time and then decide later when pizza night actually happens. That flexibility is especially helpful if you want a homemade dinner option that doesn’t require starting from scratch at the end of a busy day.
It also means you can easily scale the experience for a group. Doubling the recipe lets everyone top their own portion, which is a simple way to accommodate different preferences without making separate meals.
Pro tips for consistent results
A strong pizza dough doesn’t require complicated techniques, but it does reward attention to a few fundamentals. These are the practical points that help this method deliver reliably.
Use yeast that’s active and fresh. The foamy bloom after 5 to 10 minutes is a useful checkpoint.
Choose the right flour for your goal. Bread flour’s higher protein supports structure, giving you a crust with a crisp edge and chew. All-purpose flour works, but the crust may be softer and less structured.
Measure accurately. Whether you use a kitchen scale or cup measures, accuracy matters. If measuring by cups, spoon and level for better ratios.
Let time do the work. No-knead doughs rely on time for the dough to mature, hydrate, and organize its gluten structure.
Handle the rested dough gently. When shaping, avoid popping the air bubbles that contribute to a light, blistered crust.
Don’t over-flour the dough during shaping. Extra flour can cause the dough to shrink back and tighten.
Preheat for maximum heat. A very hot oven is central to browning and a crisp bottom crust. If you have a pizza stone, preheat it in the oven to support crispness.
If you’re short on time: a faster option (with trade-offs)
The long rest is a major reason this dough tastes and stretches the way it does, but it isn’t the only path to a workable pizza night. If you need to speed things up, you can follow the stretching and folding steps, then set the dough aside—covered—to rest at room temperature for an hour or two before using.
That quicker route will still produce pizza, but it comes with predictable trade-offs: a more mild flavor and a slightly tighter crumb. If you go this way, take extra care when shaping. Work slowly, and resist the urge to add more flour, since that can make the dough tighten even further.
Even so, when you can plan ahead, the overnight rise is one of the easiest ways to improve homemade pizza dough without adding extra effort.
Making it your own: toppings and serving
Once the dough is ready, the fun part is deciding what to put on it. This crust works with classic combinations like pepperoni, as well as seasonal vegetables and more creative mixes. Because the dough is divided into two balls, you can make two different pizzas in one session, or let everyone customize their own.
For the best texture, bake until the crust is deeply browned and the top is bubbling, then serve immediately. With a hot oven and a well-rested dough, you’ll get a pizza that’s crisp at the edges, tender in the center, and satisfying without requiring the labor of traditional kneading.